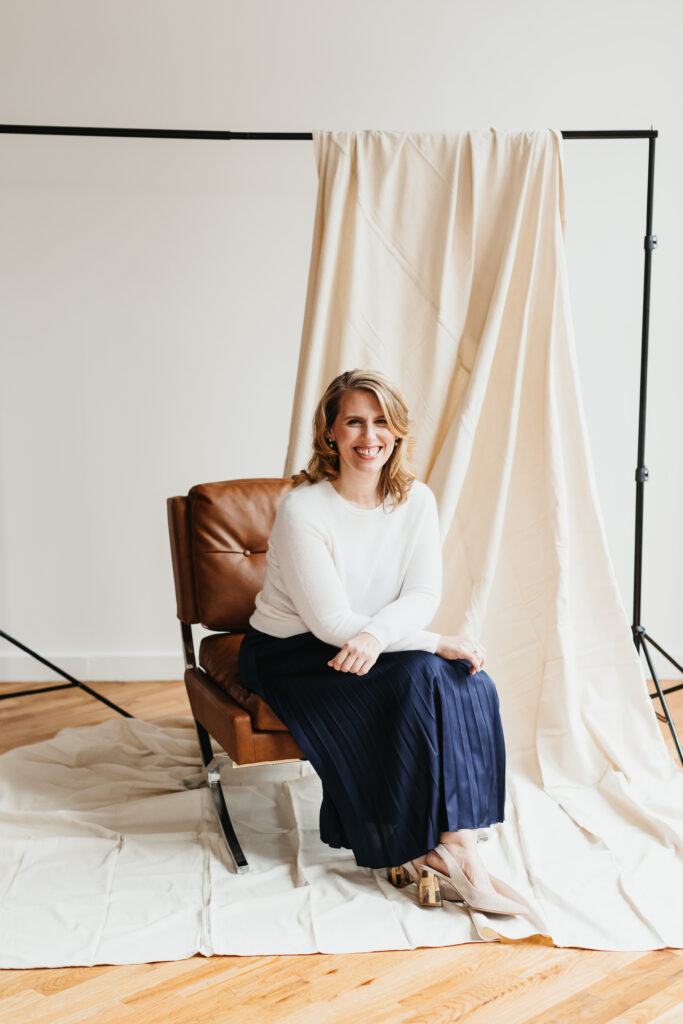
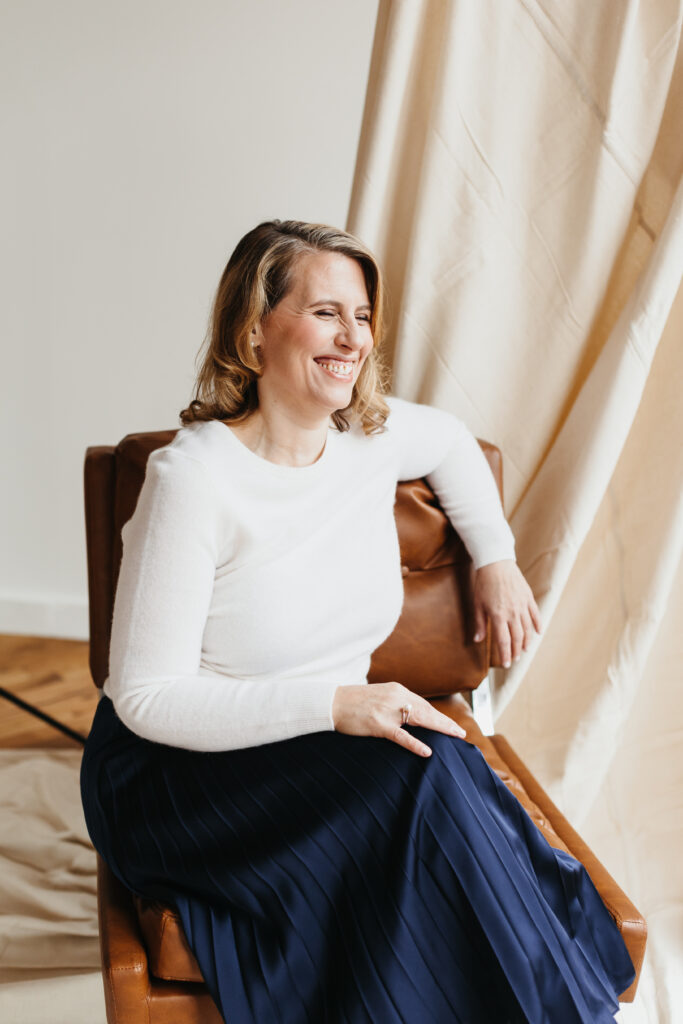
Branding photography is a powerful tool for establishing your business’s visual identity. Preparing for the session ensures that the photographs effectively communicate your brand’s message and aesthetic. Here’s a comprehensive guide to help you prepare for your branding photography session:
1. Define Your Brand Identity
- Brand Values: Identify the core values and message of your brand.
- Target Audience: Understand your audience and what appeals to them. Write a paragraph about your “ideal client” and be very specific. Here’s some help from Forbes to get you started.
- Brand Style: Decide on the style (e.g., professional, casual, vibrant, minimalist, maximalist) that best represents your brand.

2. Plan Your Shot List
- Key Shots: List essential shots such as headshots, product shots, workspace images, and behind-the-scenes images.
- Storytelling: Consider how to tell your brand’s story visually and how to make your clients learn more about your process from the start of the product/service to the end result and why they should invest in your business.
- Usage: Consider where these photos will be used (website, social media, marketing materials) and plan accordingly. If you’re planning for a website and newsletters, consider horizontal framing, and for social media, consider vertical framing. Mention this to your photographer so that they can keep this in mind during your session.

3. Choose the Right Photographer
- Portfolio: Review photographers’ portfolios to ensure their style matches your vision. Consider their editing style, lighting, and the images you’re drawn to.
- Experience: Look for photographers with experience in branding photography. Consider photographers who have worked with a wide variety of businesses. If they have images of similar businesses to yours, do you like those images?
- Reviews: Read reviews on Google or the photographer’s website to get an idea of other businesses’ experiences during their session.
4. Location Scouting
- Locations: Select locations that reflect your brand’s identity, whether it’s your office, the photographer’s studio/studio rental, or an outdoor setting.
- Permits: Check if you need permits for shooting in certain locations.
- Lighting: Consider natural lighting and time of day for outdoor shoots.

5. Wardrobe and Styling
- Clothing: Choose outfits that align with your brand colors and style. Most photographers will recommend what colors/outfits will align vibe of the session.
- Accessories: Select accessories that complement your look without being distracting. Accessories can allow you to include your branding colors less boldly and can sometimes offer as a prop.
- Professional Styling: To level up your session, consider hiring a stylist and/or a hair/makeup artist. Investing in these professionals can make you feel like the best version of yourself and help elevate the overall look of your imagery.
6. Props and Set Design
- Relevant Props: Gather props that enhance the brand narrative (e.g., tools of your trade, branded merchandise, etc).
- Backgrounds: Think about background elements that fit your brand’s aesthetics. Consider colored paper backdrops to create different looks in a studio session that align with tour branding colors.

7. Pre-Session Preparation
- Mood Board: Create a mood board with sample images to brainstorm with your photographer.
- Shot List: Work with your photographer to create an overall mood board and shot list with certain directions for the photo shoot. Include your multiple focuses and break the session into sections to ensure you get the most out of it.
- Checklists: Prepare checklists for wardrobe, props, and equipment to ensure nothing is forgotten. Contact rental companies if additional props or set designs are needed.
8. During the Session
- Relax and Be Yourself: Authenticity is key in branding photography. Set the mood, play music, and have fun!
- Communication: Provide feedback and be open to your photographer’s suggestions.
- Posing: Consider poses you like in advance while sourcing images for your mood board, but be ready for candid shots, too! Candid shots give a more “behind-the-scenes” feeling, which most clients gravitate towards.

9. Post-Session Actions
- Utilization: Review your completed gallery from your photographer and strategize how and where to use the photos for maximum impact. Update your social profiles, website, and other platforms with your new branding imagery. Use your headshot images for an introduction post on socials (these posts always do really well as clients love to see the face behind the business).
10. Review and Reflect
- Analysis: Evaluate how the photos perform in your marketing efforts and adjust future sessions accordingly. Consider refreshing your imagery quarterly to have consistently branded imagery for your socials, and to engage with your clients or for new launches during your calendar year.

Checklist Summary
- Define your brand identity.
- Plan your shot list.
- Choose the right photographer.
- Scout and select locations.
- Prepare wardrobe and styling.
- Gather props and set design elements.
- Create a mood board and finalize checklists.
- Relax and communicate during the session.
- Select and strategically use photos.
- Review and reflect on the process and results.
By following this guide, you can ensure that your branding photography session is well-organized, efficient, and yields images that truly represent your brand.
Ready to book your branding photography session? Contact us here today to get started!
